


Chevrolet Chevelle Instrument Panel Lights
The dashboard provides a wealth of important information to a driver. It is key to keep your eye on the dash and all of its notifications and symbols. Ensuring that the lights and warning indicators are all working properly will assist with safe and smart driving.
What is the instrument panel on a car?This is another way of describing the dashboard or control panel above the Chevrolet Chevelles steering wheel. It is located directly ahead of the driver. It includes symbols that are meant to inform and warn the driver when anything is amiss related to the car or truck and the operators driving. There are light bulbs behind it that will turn on to light up whichever indicator symbols need attention. Some examples of symbols and warning lights located on the Chevelle dash are:
- Tire pressure
- Speedometer
- Oil pressure
- Emergency brake
- Airbags
- Various fluid levels
This is the area on the Chevrolet control board where the light-up engine, oil, and other warning symbols and indicator lights are located. Some Chevelles have the traditional analog gauges while others have digital or electric gauges. Both use various colored lights behind the scenes to illuminate the indicators and warning signs.
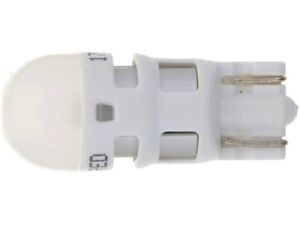
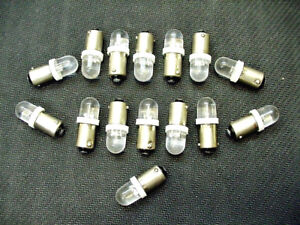
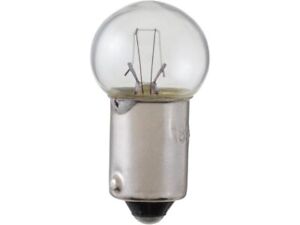
How do you change the dashboard lights?If you notice that one or several lights are not illuminating, it is important to address the problem immediately for the safe operation of your Chevelle. Be sure that you have the correct bulb for the make and model of your car or truck. Also, ensure that you have the correct kind for the specific symbol or warning light that is not working. Different indicators use different sizes and colors. Some vehicles may use LED types.
- Following your vehicles manual, first disconnect the battery and remove the faceplate of your dashboard panel to expose the bulbs.
- Locate the affected bulb. Twist and pull it to remove it from the socket. Be sure to use as little force as possible so as not to damage the glass.
- Apply a designated grease to the metal base of the new bulb to increase its lifespan.
- Gently screw it into the socket and repeat the steps as necessary with each impacted one.
- Reconnect the vehicles battery to test the replacements.
- If the new bulbs are functioning properly, reattach the faceplate.
- If they are not functioning, check the fuses or refer to your owners manual for further inspection of the problem.